As project 1 winds down and project 2 cranks up, here are a few final thoughts I have had about my project. Though everything came out perfect, even though I had to patch a tear, and I had one panel fall out with no casualties, I feel a little disappointed with the process of this project for me. Like others the steps to produce my panels came very naturally with very little experimentation. I feel that I should have done more, not only to make my panels more dynamic and interesting, but I feel that I may have missed out on a chance to design through experimentation. However, as I said earlier I feel that my panel was successful in suspending wood into a pattern or state that one does not see wood in. As far as the argument of what material is really the star, the wood or the Encapso-K, the Encapso-K allows the wood to be seen in a suspended state, which the wood can't do naturally, it also shows how porous wood is, while one piece of wood is totally saturated, another still has the natural texture of the wood. As far as my process, everything kind of fell into place. I found Encapso-K by trying to find an alternative to resin, since the weather wouldn't allow me to pour resin successfully and the smell is just toxic. From there I tried to submerge the wood and create a artifact that had frozen in time effect with the Encapso-K (binder) dripping from the wood, both proved unsuccessful. Than late at night right before I went to be I thought about just pour some binder and placing the shards of wood in it. The next morning I had the bases of what turned into my final panel. I than scales up the test, which gave me insight on a lot of the elements that need to be in place to have a successful panel piece. I found that the binder takes on what ever texture it is on as it cures. For example when I tired it on the wax paper the back surface was cloudy, but when I poured it on packing tape the sample came out crystal clear. I also learned that my desk isn't exactly flat, so when my mold failed it all seemed to pool to the lower left of the frame and my desk. So as figured out I needed to have a leak proof mold, with a clear and/or smooth liner and I would have to watch it for level. Also as I scaled up for the final prototype, I realized that I needed to place the wood into the pattern I wanted starting from one side and work across the mold.

If I placed the wood in random order, when I would place more pieces, the first wood pieces that were placed would move. The displacement of the binder, though very little, would disrupt the wood pieces already setting up in the mold. I was able to deal with this better as I made the panels and as stated in class, the third panel is the most successful and is the most dynamic. I feel all of the panels could have that potential if I had more binder to play with. This is where I feel that I let my materials run own me, and not the other way around. After the molds were set, un-molding and assemble really came easy. I did have a plan B if all else failed but the panels came out perfect and they came together perfect. This is the first time that has ever happened to me, usually I'm on plan D when I present, but this one worked out.


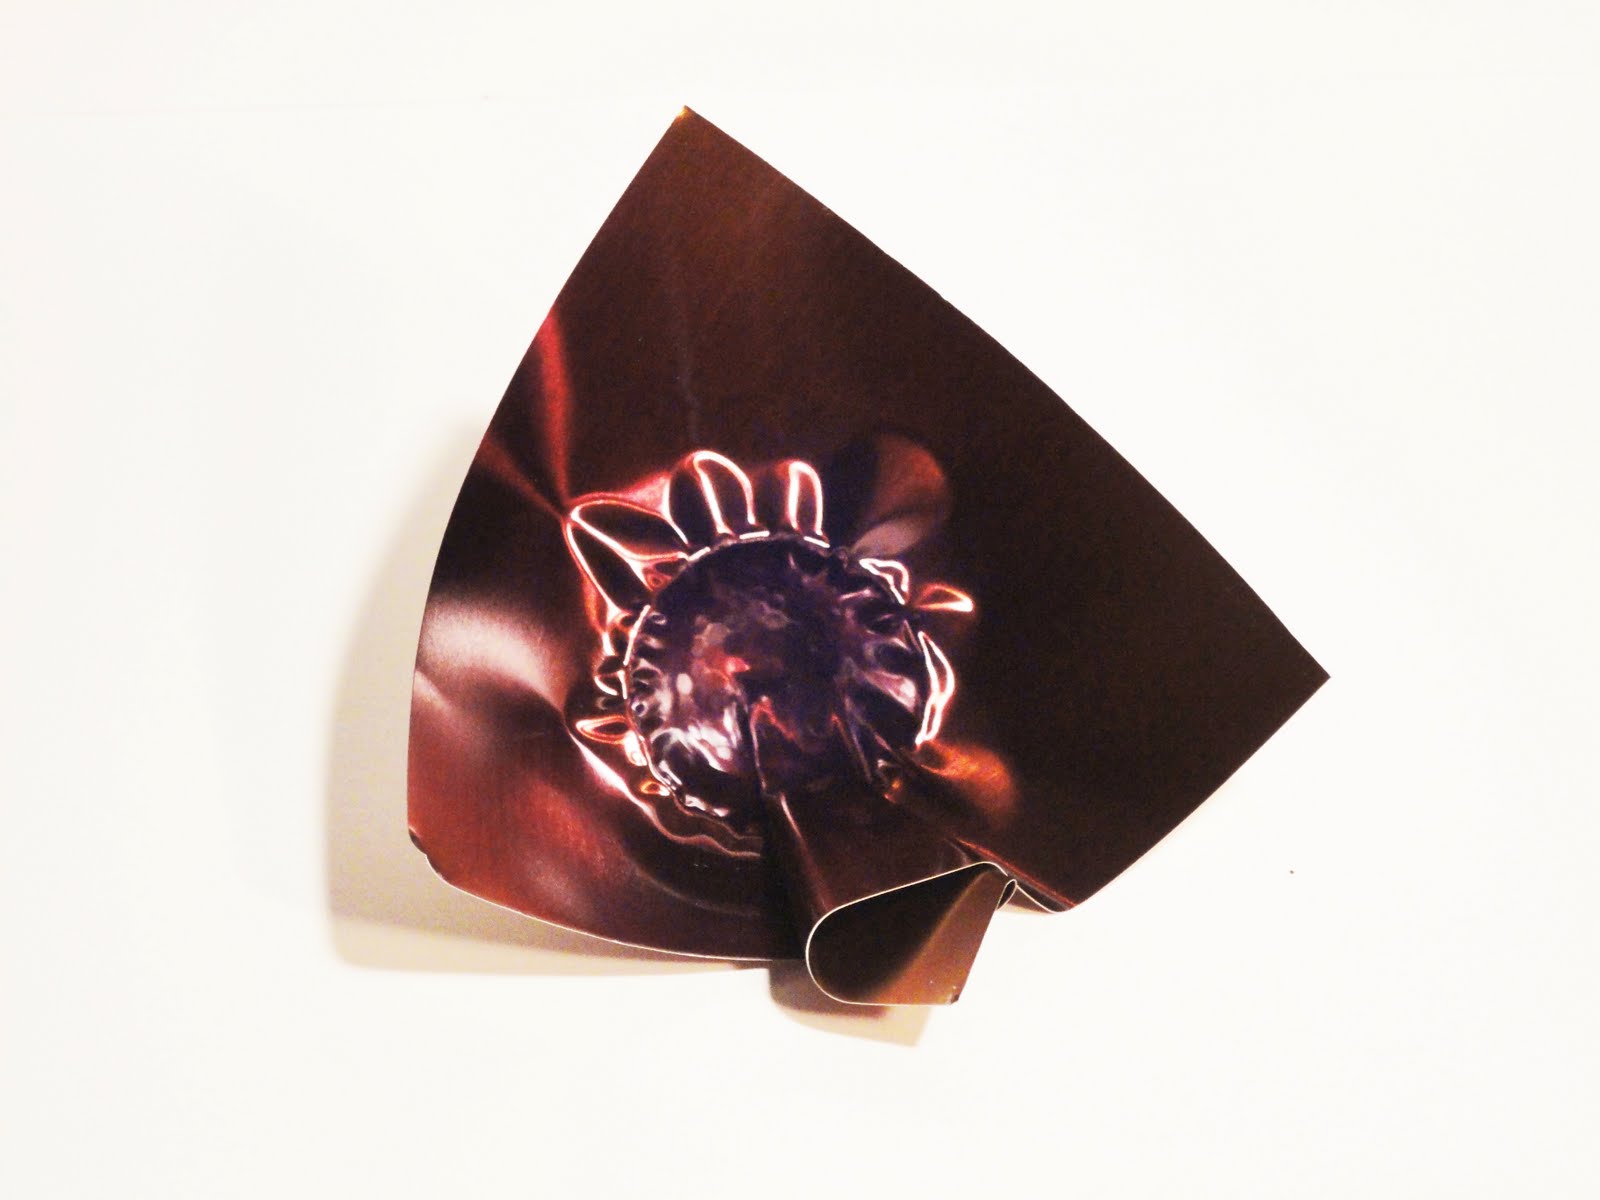
 Paper or Plastic?
  Plastic!
 Generating an Army of Forms.
 Connections...
 These are Megan's initial process experiments. She tried multiple variations of burning and distorting wood to find just the right propety to continue on with.
 That property ended up being burning wood lath that had been exposed to dish soap applied with a sponge. As you can see, the sponge technique created a beautiful array of texture and shading based on the amount of soap, texture of sponge, and colour of wood. Once the final technique was decided upon, it was time to go full scale.


 A plethora of perfectly straight, woody plants were found on the bluffs of Lake Michigan. In a later stage, the sticks’ natural color was changed by exposure to a bleach solution in varying durations.
 A slotted frame proved to be a good way to hold the sticks in place. The parallel orientation and rigid form created opportunities for overlapping layers and changeable densities.


